Wednesday, June 19, 2013

Piper's Quilt & Stuff

My sister had a baby in February.  I wasn't sure what to give/make/get for her.  It's taken me this long to finally figure it out.  I made her a quilt.  Surprise huh?  LOL  Anyway, I got a tumbler (trapezoid) die that works in my sizzix so I didn't have to sit there and cut out endless trapezoids.  They're a bit smaller than the template I made.  The template made a 5" finished tumbler.  The die makes a 4" finished tumbler.  The corners match up SO MUCH better when you use something that's uniformly cut!  I was able to cut all the tumblers for this quilt in under 30 min!  Yes, that right, one episode of Dora! 

Anyway, I wanted to do pink for her since Piper is her first girl.  I found the great fabrics at my favorite store- Joann's.  I love the combination of pink and brown and white too.  I hesitated with the white but I think it works.


 The front of Piper's quilt

 
 The back of Piper's quilt

 Piper's taggie


 reverse of Piper's taggie

Piper's burp cloth made from scraps from her quilt..  The back is white flannel.

I love making baby quilts and stuff.  They go so fast and always turn out adorable.  :)


Sunday, June 2, 2013

Brayden's Quilt & Stuff

I wanted to make some stuff for my not yet born nephew.  So.... I went to my favorite store, Joann's.  I found the blue dotted fabric and went from there.  Originally, I had the blue, brown, and white solids.  THEN I saw the monkey fabric and had to add that.  I thought there was too much blue so I added in the green.  I used dark green binding for the edges and used dark brown pearlized cotton thread to tie it.  After all the stuff was bought, washed, and cut out, I asked my sister what the "theme" of his room would be.  Just my luck she said.... "monkeys, and earth tones."  NAILED IT!  I love how it turned out.  I cut EVERY SINGLE ONE of those trapezoids (tumblers in the quilt world, apparently) by hand.  I made a template from an old transparent binder cover and then used that to cut them with my rotary cutter.  They're wonky and not all square, so the lines and corners didn't PERFECTLY line up.  It's handmade so it's not going to be perfect.  I think my projects turned out pretty darn cute if I do say so myself!  :)

  The front of Brayden's quilt.

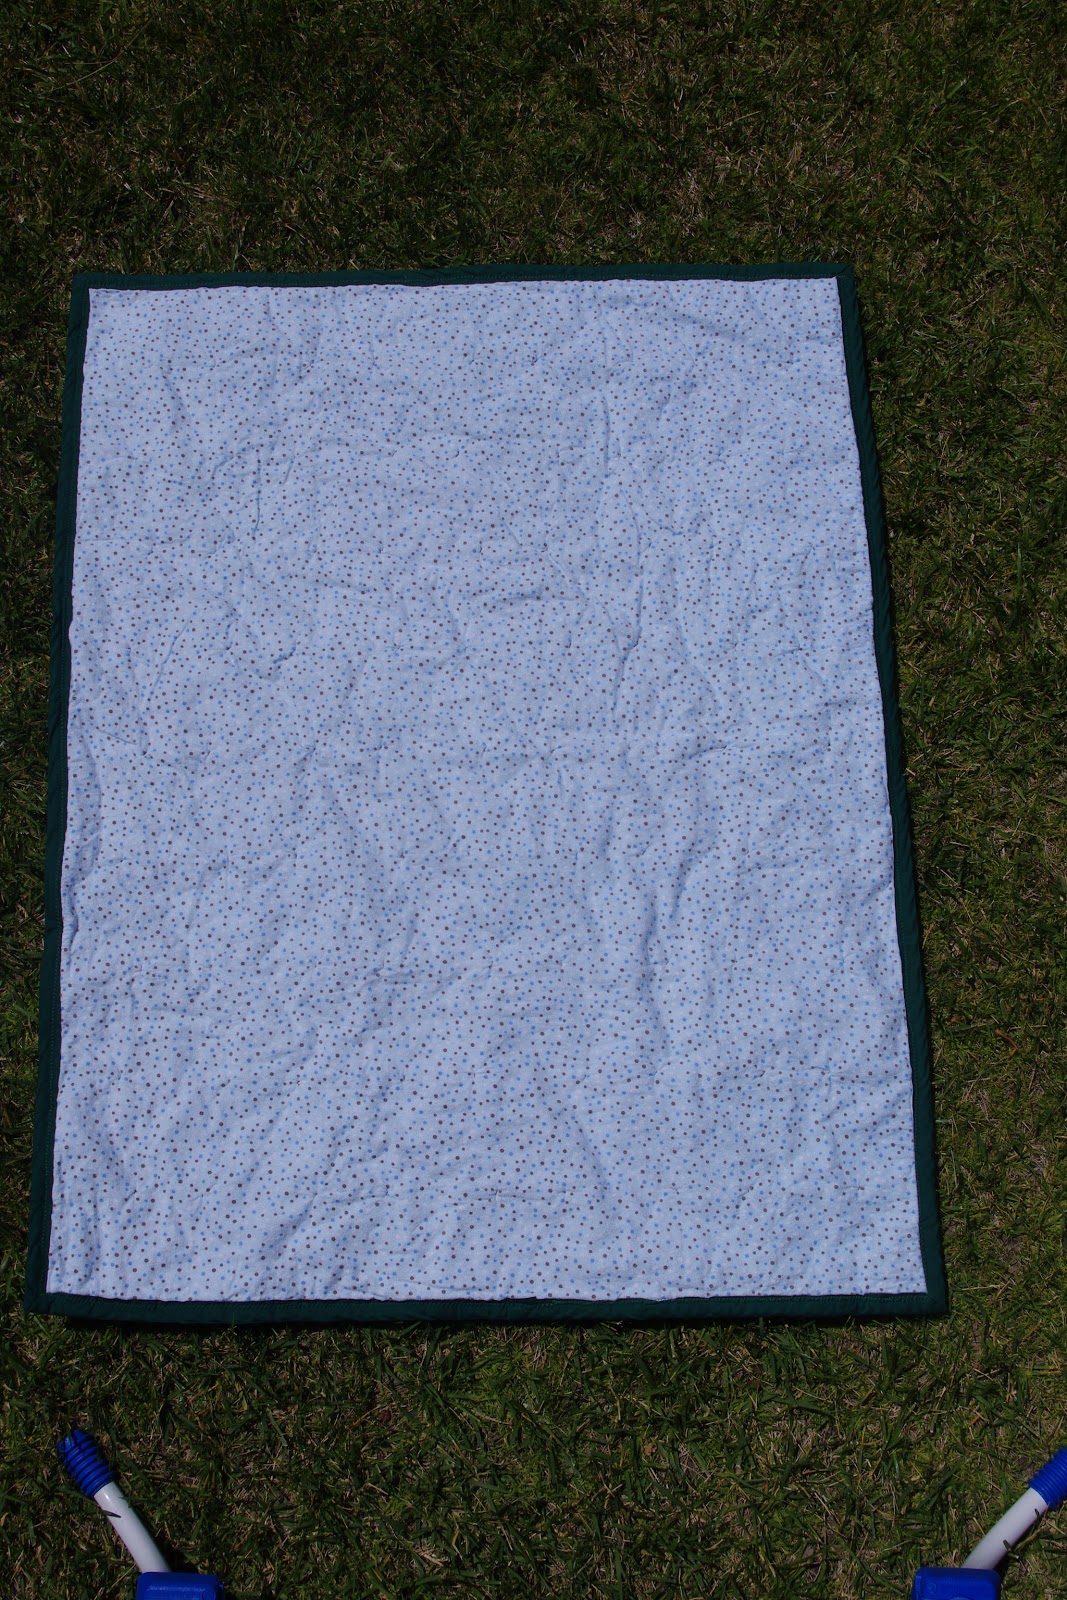
 The back of Brayden's quilt.

I had LOTS of left over flannel and no desire to store it all. 
So... I whipped up a few more things for him.
 The front of Brayden's taggie.  All the ribbon is from my stash!

 The back of Brayden's taggie.

 Trio of burp cloths.  I used left over quilt binding to make the loops on these.
 Reverse of the burp cloths.

I hope my sister in law loves these.  I had a great time making them.

Saturday, April 27, 2013

Emily's Taggie

My "fake friend" Angie is having a little girl in a few months.  Today is her baby shower and I'm not able to go so I mailed her present to the party.  I made her a taggie from left over fabrics from Ally's quilt.  I LOVE the pinks and the bugs.  I was super glad that I could use those fabrics because they're perfect for a taggie.  Nice and soft flannel.  :)  I put 5 "tags" on each side and appliqued her name on the back.  Anyway, here's Emily's taggie.


I hope Angie has an awesome shower today and I can't wait for her to have her little sweetness.  :)

My sisters quilt.......

I made a HUGE quilt for my sister.  She was clearing out her fabric stash since she hasn't been sewing for a while.  (She's moved onto knitting.)  I was the beneficiary of her stash.  :)  I love fabrics and she only buys the nicest.  No walmart fabric for her!  Anyway, she had this gorgeous bee fabric in her stash that a friend had given to her.  Since she's a bee keeper, I KNEW I had to make SOMETHING for her.  So, I decided to make a quilt.  I only had 2 yards to work with and no quilt I've EVER made is made with 2 yards of fabric!  I used excel to lay it out and figure out how many squares of each color I would need.  With that information, I was ready to go!  I had to start finding fabrics to go with the pretty bee fabric.  I found sparkly lavender, solid purple, gray, and a buttery yellow.  All the colors worked perfect with the bee print.  They call came from Joann's too.  The ladies at the cut counter ooh'd and ahh'd over the bee fabric while they helped me with the matching.  I took it back in and showed it off to them after I finished it.  Anyway, the backing is the 108" wide flannel from Joann.  I needed it to be 117" AT LEAST since I had planned on doing a wrap around binding on it.  So.... the stripes on the back were born.  I used up every last scrap of fabric that I could on this one.  I have a SMALL ziplock of left overs.  I tied the layers together with lavender pearlized cotton thread and ended up having to bind it after all since I didn't have enough left on the edges to fold over 2 times.  I used the quilt binding (NOT satin) from Joann's too.  Yep, they've got it all.  :)  Without further ado- here's the quilt that took me 6 months to make and ended up at 117"x117"!


Sunday, March 10, 2013

Beeswax, Coconut Oil, & Honey

After my crayon incident, I had 64 lip balm tubes left over.  What to do with them.... Well, my sister is a beekeeper who happens to have LOTS of nice beeswax and honey.  What more is needed to make some nice lip balm?  She came over to hang out with Ally on Friday and when I got home from work we whipped up a batch to see how it worked.  At first we did 4 T wax, 2 T coconut oil, 1 tsp honey.  That was WAY too waxy and pretty much ripped her lip off when she tried it out.  Then we did equal parts wax and oil and added another T honey.  That was better but NOT quite what we wanted.  We added 2 T more oil and it was pretty much perfect.  It's in the testing stage at the moment and if it works out, we'll make more.  It would be really cool if she could sell some along with her honey at the Alden Lane Nursery in Livermore!

 Pure beeswax.  

Smashed with a pick axe head that was laying out on the back porch.  
Too lazy to go find a hammer and screwdriver.

 This stuff smells AMAZING!  I thought there would be a coconut flavor, but alas, there isn't.

 Empty tubes waiting for the waxy goodness.

 What to use to melt stuff in?  Why a washed out hacked up soda can, duh!

 Yes, this is the same pan from my crayon incident.  Why ruin another right?  The lip balm is all poured and setting up nicely.  It's hard to let it sit.  I just wanted to try it out!  I hate waiting!

All cleaned up and ready for caps.

I think it turned out pretty nice.  Going to give it a try for a week or so.  
Maybe a bit more coconut oil.  Maybe some essential oil.  Not sure.  
It is good and I don't worry about Ally getting a hold of it and chomping it down.

Saturday, March 9, 2013

Pinterest Crayons

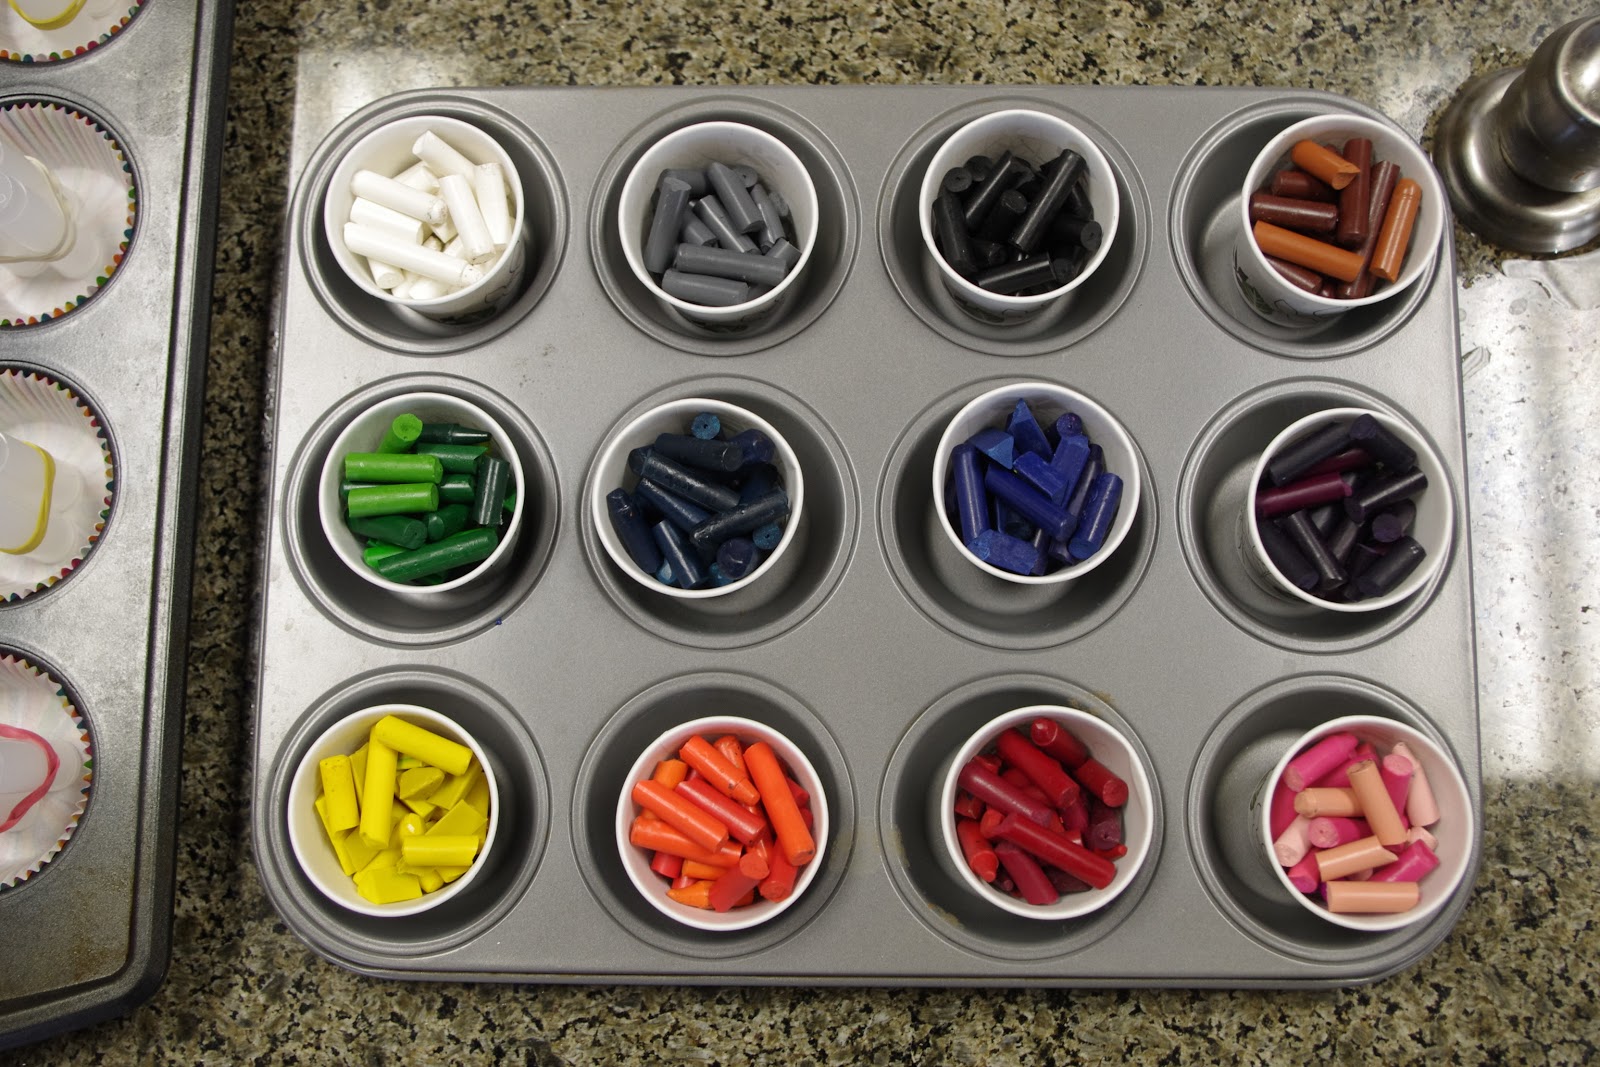
Such a brilliant idea.  Such a horrible craft failure.  I saw a great use for old, broken crayon pieces.... make them into new crayons in twist up containers!  So, I jumped online, ordered 100 lip balm containers (can't call them "chapstick" since it's a name brand, whatever) with lids in anticipation of making this great project.  The days dragged by while I waited for them to come.  I collected up all the old crayons I could from school, the diaper bag, my office drawers.  I peeled the crayons.  I broke them into pieces.  THEN the containers came!  Oh joy!  I was sooo excited to get started.  I put the crayon pieces into dixie cups, thinking I'd melt them in the microwave.  Really, why SHOULDN'T they melt there?  They melt in the car, in bags, in the dryer.  After 3 min on high, the wax wasn't even soft!  So, then I put them into a "water bath" inside another container.  Well, that was a MAJOR fail.  The crayon melted all right, but it came out of the (now soggy) dixie cup all over into the container.  Luckily I used a junk container anyway.  Not to be defeated by stupid crayons, I went back to the drawing board.... I decided to use the oven.  So, the dixie cups went into a muffin tin.  I had 12 colors, muffin tins have 12 places to put stuff.  Coincidence?  I think NOT! 
 
 Before melting the crayons in the oven.

 Into a 225 oven they went.  After 20 minutes my crayons weren't melted!  Seems like it happens MUCH faster than that when they're in the car!  Not to be defeated by the now pissing me off wax, I started thinking again.  Maybe water is what was needed again.  I wrapped the bottoms of the dixie cups with foil (no cup failures due to soggy cups this time!) and added water around the base.  So far, so good.  Into the oven they went. 


  Into the chapstick lip balm containers it went.  
I rubber banded 3 together to give them some stability.

After the crayons cooled, I turned one to get it to rise.  Um, nope.  Not moving.  It actually broke the turney thingie.  Yep, no bueno.  I thought about it and put them in the freezer for a few hours.  After I froze them, I tried another and another, all with the same results.  So... I have decided that this is a TOTAL fail.  I took the "crayons" out of the containers and put them back into dixie cups to remelt later in a silicone form.  

I really hate crayons.

Sunday, February 17, 2013

Wine, the Park, and Family

Today we went to the Thomas Coyne winery for their Spring Open house.  You get to bottle your own wine, for $6.50 if you bring your own bottles and $7 if you need to use theirs, at this event.  Last year the wine was pretty darn good (according to hubby, since I don't like wine).  This year?  Not so much.  My mom says she planning to mix it with port to help the flavor.  Hubby says he's going to use it to cook and let some of it age.  We have TWELVE bottles of the stuff!  I think we may skip the bottling next year and just do something with the family that weekend.

 Nana & Ally checking out the llamas

 Ally and her oak gall

Ally washing her cork down with my empty wine glass

 Ally and her favorite person- Uncle "Timma"

After we bottled wine, my sister and her hubby and my hubby and me and Ally headed over to a park that my sister and I spent TONS of hours at as a kid.  Over the years it's been pretty run down.  Play structures were removed.  The park got kinda trashy.  Well, a friend posted a picture on FB of this great new play structure.  When I saw it, I knew we HAD to take Ally.  It reminded me of the park when we were little.  Not quite as awesome as ours but it was pretty sweet looking.  EVERYONE had fun!  Even the adults!  :)

 Running to the park with Uncle Tim

Ally and me at the VERY top of the slide 

 Ally and me at the bottom of the slide


 The spinny thing that the adults LOVED.  It went REALLY fast with both the guys on it.  
Kids SWARMED to it when they were on it since it was spinning so quickly!

Daddy and Ally on one of the BIG slides

Ally came down this one on her own

 Followed by Aunty "Duck"

Toad stools are fun to climb on

 This thing was fun too

Swinging like monkeys

 Ally tried too

 A bear inside the tree!

 Crossing a scary high land bridge to get to a slide

 This slide is FAST!

 And injury happens.  :(

 There are big tears and a mark on the side of her face

 A ride in a handicapped swing makes it all better

 Smiles before we left.  Can't leave in tears.

After the park, we went to my parents for late lunch/early dinner.  My dad has an old barber's chair that the kids like to play on.

They also have a chinchilla (which I am allergic to or we would have him here) that the kids like to give dried apples to.

Ally was one TIRED girl by the end of the day.  She took a MAYBE 20 minute nap between the winery and the park and that's it.  All in all an awesome day.